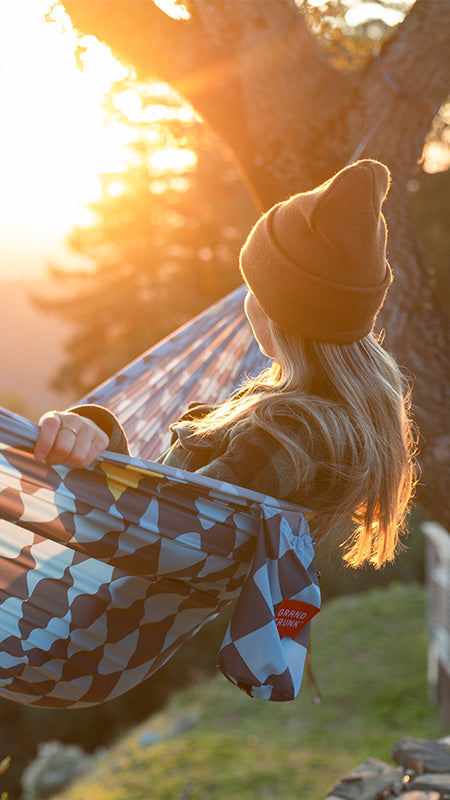
Written by Mac Stone @MacStonePhoto:
The shift from traditional film to digital photography has expanded our photographic reach immeasurably. Initially, one of the biggest benefits was the fact that I could experiment freely without worrying about how much money I was spending in slide film and processing fees. I might be dating myself, but it was expensive; I could almost hear the “cha-ching” every time I clicked the shutter. Now, it costs you nothing to test out and expose your ideas. Of course there’s also the instant gratification of digital, which has made reviewing and sharing your work impossibly efficient. But, in my opinion, the biggest advancement, the most important and also the most under appreciated facet of digital photography is the variable ISO (international standards organization) with a flick of the finger.
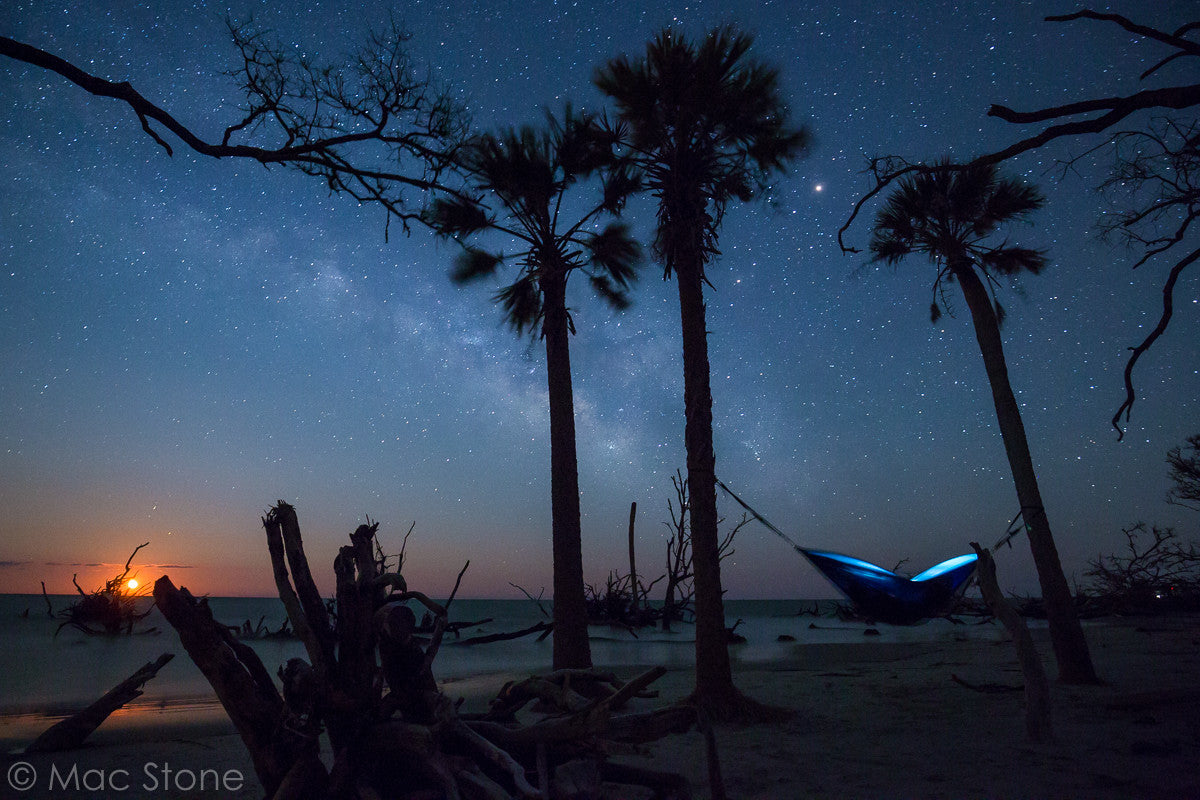
Forget what it stands for and just think back when film was around (or around your parents) and there was 100 speed film for bright daylight, 400 speed film for all around shooting and 800 speed film for indoors. Instead of inserting new film in your camera every time you go into a different situation, you now have all these ISOs in your arsenal at all times. What does that mean? Well, it’s pretty simple. When you increase your ISO, you are increasing your sensor’s affinity to light. In other words, your sensor will be able to read lower light more effectively at higher ISOs. This is what has enabled such a profusion of nighttime photography to come into view lately. Our cameras can render more today than they ever have. When you combine high ISOs with long shutter speeds, your camera picks up millions of stars that are difficult to see with the naked eye. You’ll see, it’s pretty much magic.
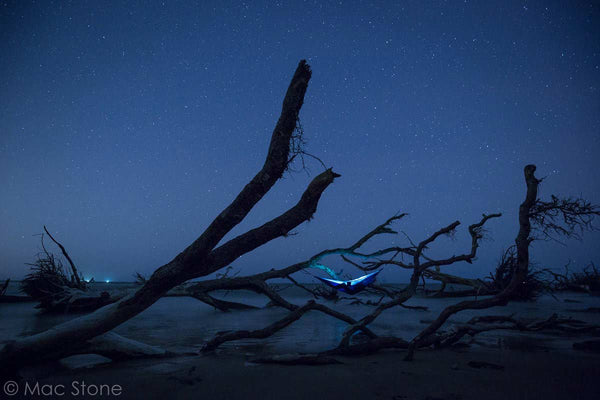
So, how do you get on this star-studded gravy train and start making your own badass night photos? Easy. There are 5 steps.
- Get a sturdy tripod or find a solid place to locate your camera and go outside during a new moon or when you see no moon in the night sky.
- Put on your widest lens and put your camera in full manual mode. Set your ISO to 2000 or 3200. Set your aperture to f/2.8 or the lowest number it allows (lenses vary on this) and set your shutter speed to 25” (twenty five seconds).
- Use a flashlight to lock focus on your subject (unaided cameras have a tough time seeing in the dark) then switch your lens to manual so the focus doesn’t change and then set your camera on a 10-second timer.
- After pressing the shutter button run, paddle, or swim to your hammock, but try not to use your flashlight in case the exposure starts while you’re still making your way.
- Once you climb in your hammock, by now the exposure will have started (unless you’re the Flash) so turn on the flashlight and illuminate the hammock from your feet to your head. Try one pass of this at a low power setting on your flashlight. Remember, whatever you paint with your flashlight will show up in the image and when sustained, your flashlight appears much more powerful than starlight. So be careful, you want a good balance.
With those settings and basic techniques, you’ll find all kinds of excuses to never go to sleep. There are lots of little things you can do to make this process even more streamlined but I don’t want to get too technical. Besides, problem solving is the best way to learn new tricks. Good luck out there Hanging the Moon!
Join us as we team up with the International Dark Association and fight to save the dark skies! #HangTheMoon